We Have Print
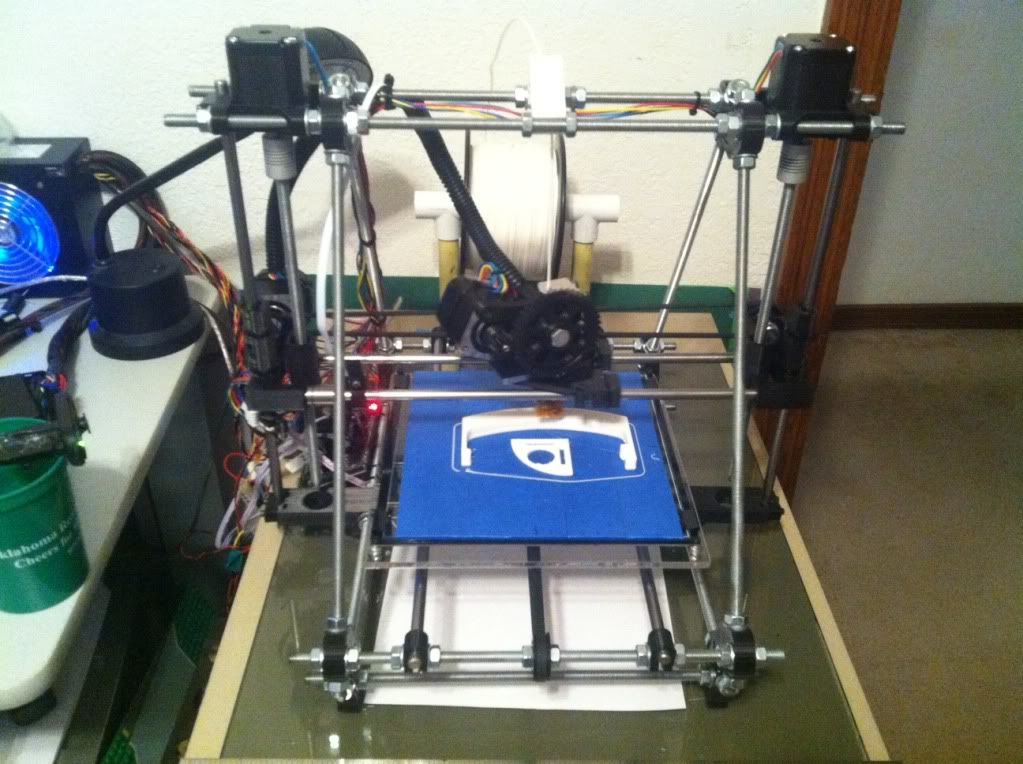
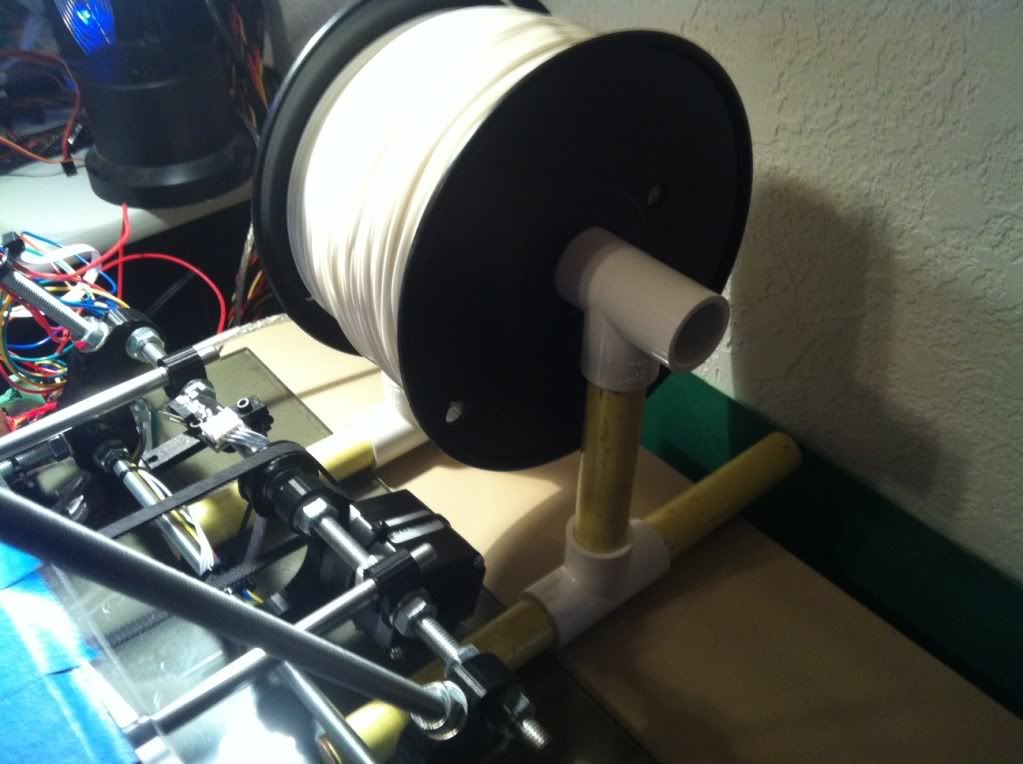 After the little delay in getting filament, it finally arrived from the new vendor. In the mean time I had almost forgotten that I need something to hold the spool so I scrounged around in the garage and found a bunch of leftover PVC T’s from my compressed air piping runs in the garage but had no PVC pipe left over. So I started looking around and found a sacrificial broom whose handle fit nice and snugly into the PVC T’s A few 4.5” cuts later (btw, broom handles are much easier to cut that M8 rod :-/ ) I had a stand that should handle both the larger and smaller rolls of PLA.
Final Checks and Test
Before printing I went through the final checks again; bed level check, re-home everything, reviewed the whole printer and loaded up the PLA. the first thing was to finally check out the extruder and make sure it will work. I used the Pronterface default 185C setting, although recommendations from LMR experts would lower that later. Clicking on the Extrude button in the lower right of Pronterface pushes out the plastic. One thing I had read was to measure the amount extruded against the set amount in Pronterface which was 5cm. Sounds easy but on each extrude the output curls back up on itself making it hard to get a good idea. I finally pulled the curled up piece off and straightened it out to measure. It’s a little over 5cm but maybe I’m stretching it pulling it off?
Test Print #1
With all apparently in place, I figured I’d try the nickel test part to start with. It’s small, flat and provides some idea if you are on scale or not. First print, first fail. It tried to print but the very first failure was having the 1.75mm filament jump out of the hobbed bolt channel and run it’s way off the facing bearing. Nice. Not bad though. So I think maybe it’s a fluke and load everything back up and try again. Nope. Not only did the filament move off the bolt BUT the bed nuts that I thought lock washers would hold spin lose and the bed is too tight creating more issues.
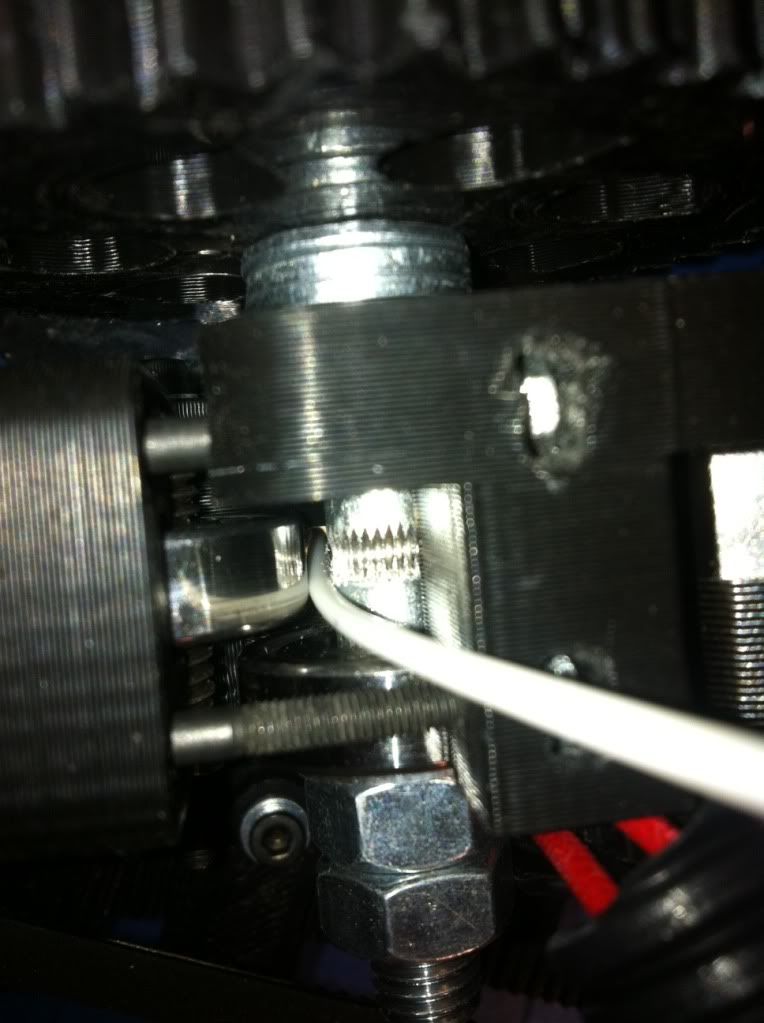
 So back to bed leveling and looking for a guide solution for the filament. The bed nut issue was simple, do what everyone tells you to do and put a dab of nail polish on each nut/thread when you’re level. Did that and done. The other issue wasn’t quite so simple. How to keep the 1.75 in the channel. I figured there were a few possible reasons; 1) I didn’t get the clamp bolts tight enough, 2) I didn’t tighten them evenly so it walks out one side, or 3) the hobbed bolt is really for 3mm and it’s just not a sharp enough cut to hold it in the center. So just to make sure and get a clean print, I retightened the bolts trying to get them even but the bolt issue was so easy. To test a guide I cut up a small piece of aluminum, slotted it and servo taped it to the extruder.
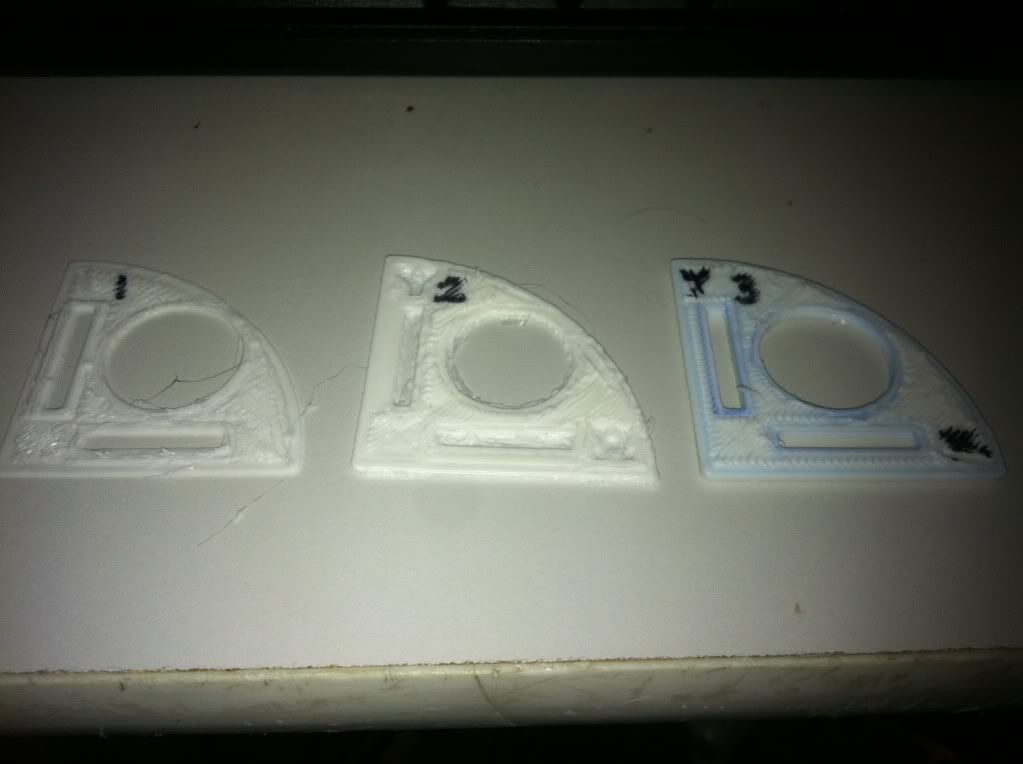
Ran another test print and it worked! You can see that item #3 looks pretty good for a 3rd print try. Testing the nickel fitting the slot didn’t go so well though. About .381mm off or .02% is what we calculated. Instead of making major changes I thought I’d try a cube of box to check outside dimensions so I printed a 2x2x1cm box. Outside dimensions were slightly LARGE so
I’m not sure if I have a scale issue. Jinx, ossipee and hoff agreed that maybe there is too much filament being extruded so it’s making everything slightly fat. The default setting was 300mm/min so I backed it down to 275 for future tests.
In the mean time I wanted to print a few “fun” parts just because, those that didn’t have minute scaling needs so I loaded up the most impressive part to me, the beer can handle! Cool, nice, big print to test too. Load / Print / Fail - Extruder jam. Ok, better try a smaller part and get this extruder thing resolved. I went back and thought I’d really tightened it down, maybe it’s still just walking out because it’s not tight enough. So I tightened it, and tightened it and finally squashed the filament so it wouldn’t feed either direction. Not the solution.
Think Smarter
So the filament is drifting off / out of the bolt groove, maybe a better inbound alignment. I’m sure there is something else going on here as even when I was assembling the extruder I wasn’t really happy with the loose feel of the whole thing. But since I can’t fix that right now, how about a better feed guide? I found one online that snaps on top of the extruder but it didn’t really go down any deeper than my existing aluminum one. Think Protowrxs, think… Ouch, that hurt.
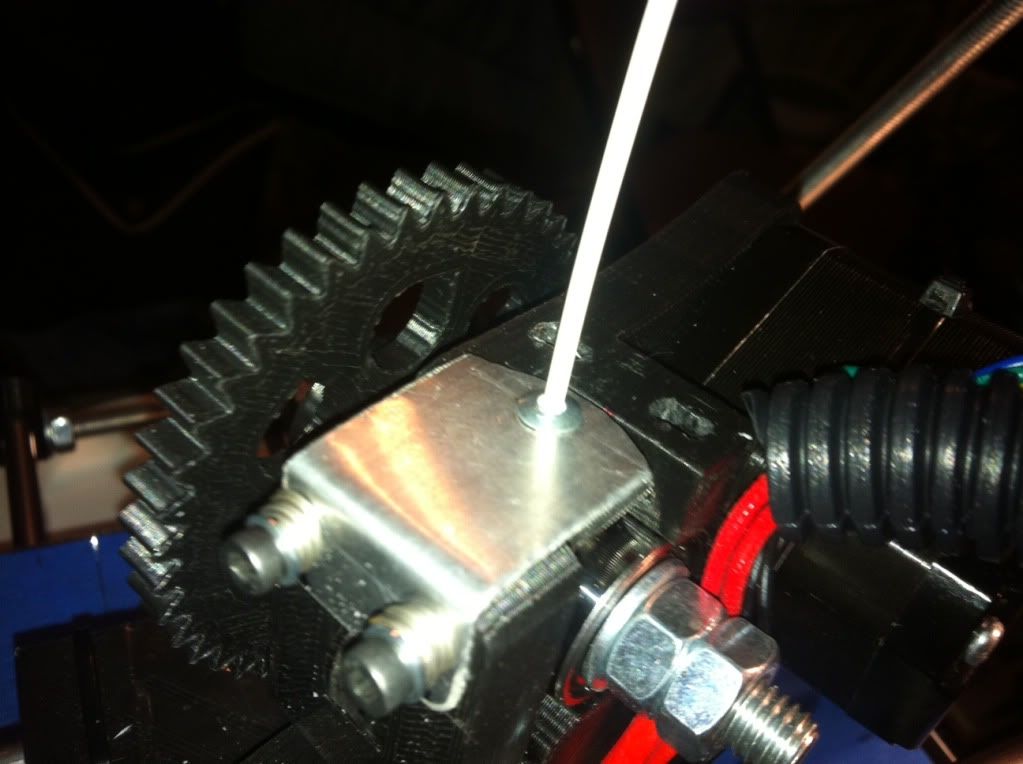 Digging around in the garage again I started thinking I need a small tube that can go deep enough into the extruder right down to the hobbed bolt to keep the walking to a minimum. Small tubes were abundant but none had any good mounting options. Then it hit me to try a
small pop rivet housing. I found one the right length and the filament fit in there just perfect. Wow, dumb luck. I knocked the riveting piece out and make a new more stable guide top, pressed the rivet into the hole and found a small nylon nut that I slightly drilled out to press fit on the bottom side to hold the rivet in.
It Works
So back to the big beer handle print, why not. Loaded it all back up, test extrusions, re-home, cross fingers and print. This time I watched it, and watched it, and watched it keeping an eye on the feed the best I could. By now it was getting late and after about half way through it was still working so off to bed and leave it be.
Results
The next morning low and behold a handy dandy beer can handle was done and a pretty clean print as you can see here. There are three locations where there is extra filament dangling around. They are consistent all through the layers so I’ll have to start researching what can cause that. The handle is slightly smaller than the stl measurements so I DO some scaling issues to fine tune. Overall I have to say I am very happy with the output so far. I know it’s only day two of printing but I was pretty concerned it would be weeks before getting this working. Partly dumb luck, partly good assembly, but mostly good help from the LMR printer experts willing to share and assist a newbie.
Fine Tuning
So it was printing but as I noted it was still not perfect scale. The nickel doesn’t fit through the hole and the big beer can holder I made worked but was super tight to get it on a can. Obviously things are slightly too small. How to fix? Ossipee explained the process to me and I had already looked at the steps per mm settings in the configuration.h file in Marlin, but I still wasn’t exactly sure which direction to make the change, although it is obvious now. Instead I found another calibration site similar to the one that Birdmun had provided me a link to. What I liked about this one located here:http://mendelmax.com/RepRapCalculator.html, is that you just plug in the disired size, what you measured on your output, what your current configuration is and it calculates you a new number to plug in. So I plugged in my settings and measurements, obtained the value and updated the firmware. Much better.
Go Big
As ossipee recommended from the beginning, it may look fine at small scale but the real test is to “go big”... and fail likely in my case but none the less that is needed to get it right. So the next step from to reprint something bigger to see if the scale works and then re-adjust as needed. So needing a correct size beer can holder I re-printed it using the new scaling. Results were I ended up with too much scale at that level so re-calculated with the big scale measurements and re-print again. Pretty much the process. Of course you don’t have to print the whole thing, let it lay down enough layers that you can measure and stop the print, pull it and re-check / re-tune.
Experience
So beside some more really fine tuning the printer is working. It wasn’t too hard overall. I liked the mix of hardware of building the printer, especially since I’m a mechanical bicycle/goKart/motorcycle/car kind of guy at heart. I also like the electronics/software side of things and learning the basics of how it works, maybe because I’m an IT/coder/manager professional.
Other Resources:


